
It's scrappy Saturday over at So Scrappy blog. Angela is hosting the Rainbow Scrap Challenge where she designates a color or theme for every month along with ideas, and we pull our scraps in that color and make something. This month's color is blue. The goal is to use more scraps by focusing on a single color each month. You can work on a series of small projects, a large one, or create individual blocks to go together into a single quilt at the end of the year. I plan to make this quilt a bit larger and then use some of my leftover 1 1/2" strips to make blocks of some sort to put into a quilt at the end of the challenge.

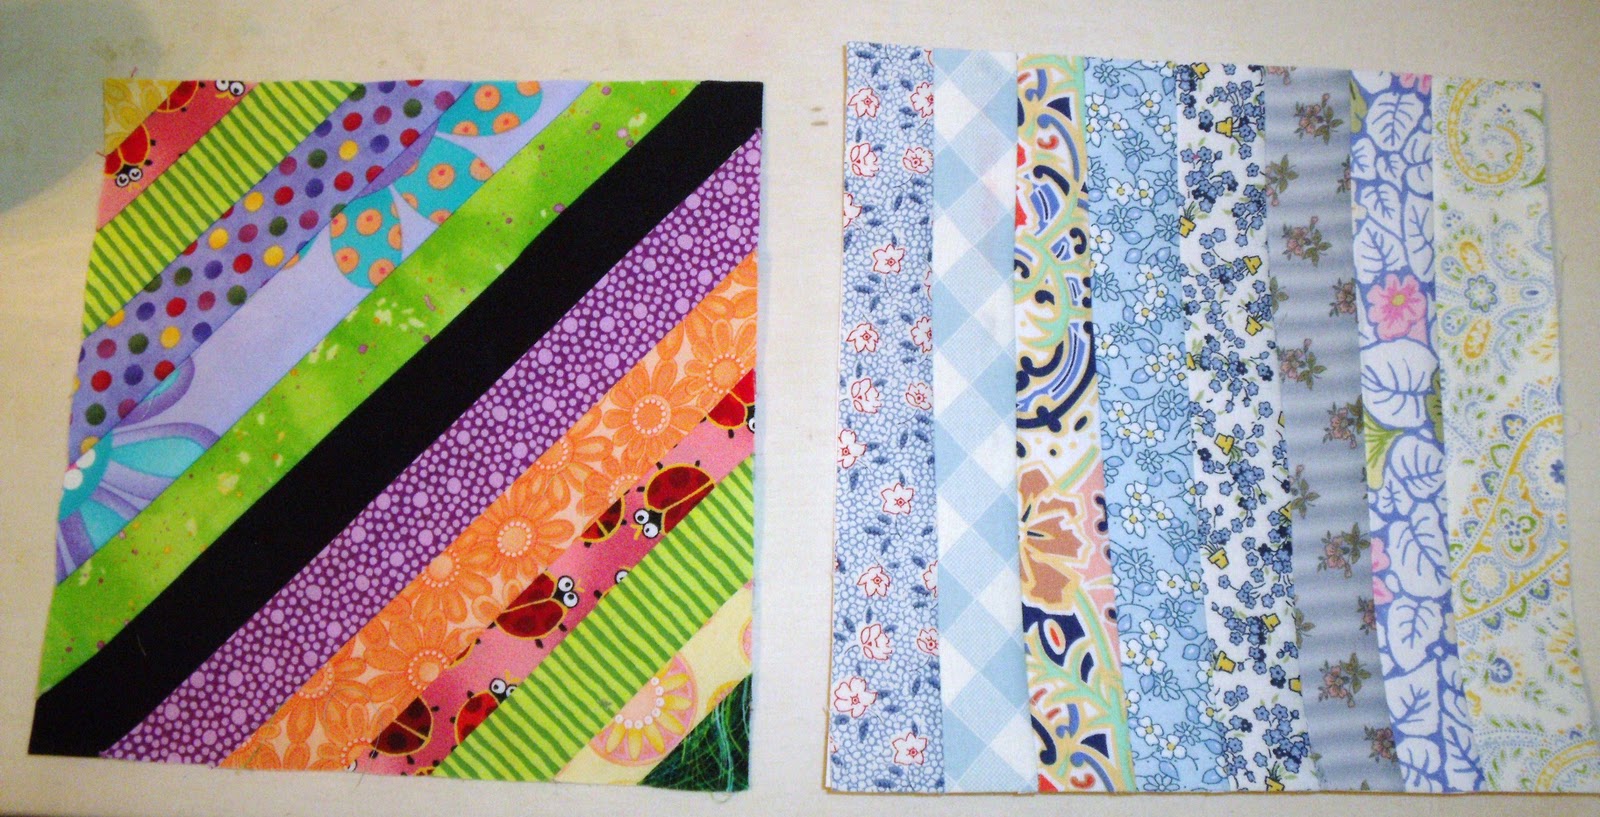
Since I have been working on the Roll Roll Cotton Boll mystery, I can't get enough of these string blocks. They really kind of grow on you. If you look at the photo below, the block with the bright fabrics on the left is how I normally make my string blocks. If you look under my banner, I have a tutorial on how I make these string blocks. I draw a diagonal line on a foundation so that I can center that black contrasting strip so that it creates a secondary design in the quilt. For the string blocks in the quilt above, I did something different. I made my string blocks by sewing the strips straight up and down on the foundation as shown in the photo on the right.
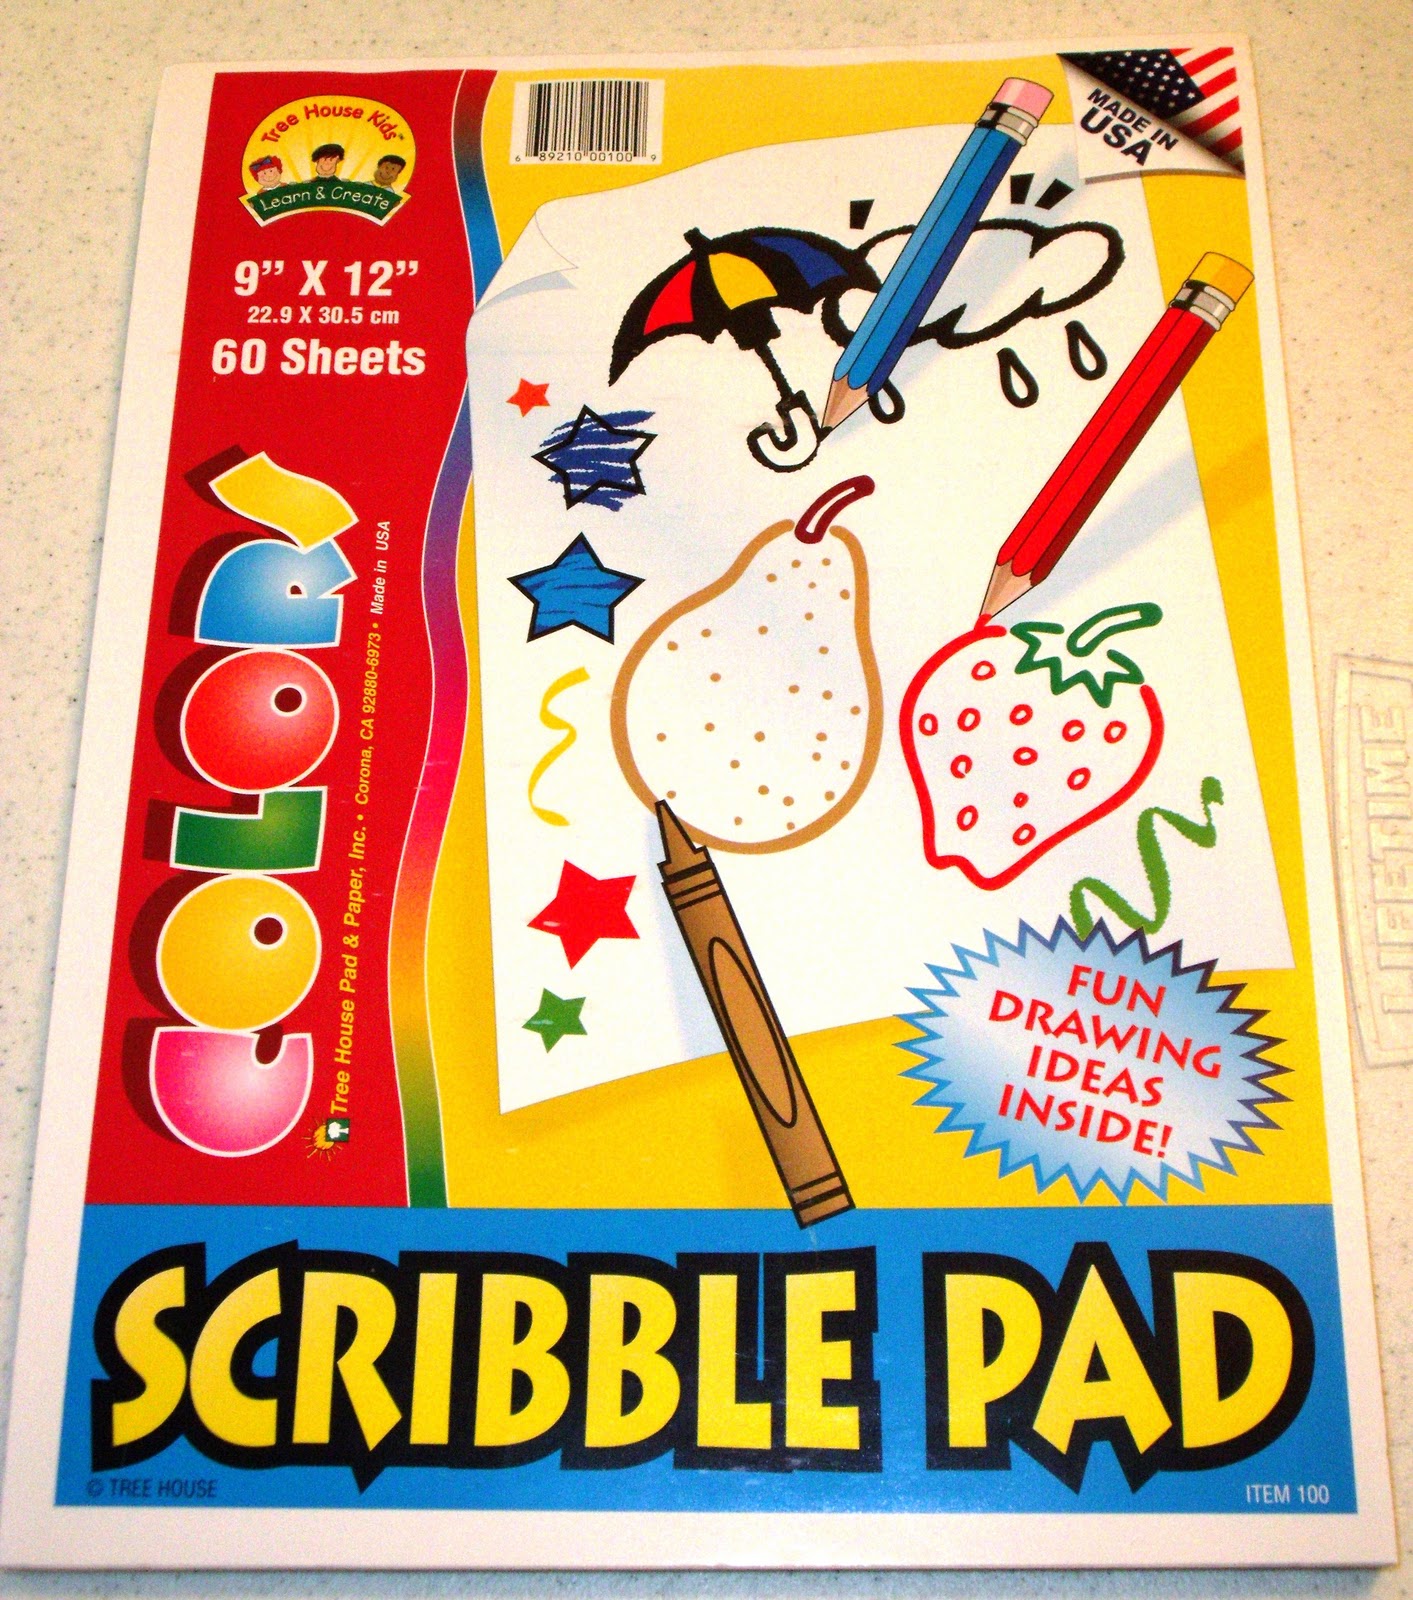
For my foundation I use paper from this Scribble Pad that I bought at the dollar store for $1. A foundation isn't really necessary, but if I'm watching TV or a movie, it gives me some sort of guideline to shoot for because if I'm distracted it is hard to judge what 9 inches really is. An old telephone book would also work as a foundation, although I don't know how much longer we will be getting paper phone books.
After I've sewn my strips to the foundation, I place them right sides together with the strips running the same direction. I then draw a diagonal line from corner to corner on the foundation paper. I drew dashed lines to show you where to sew, but you don't need to do that on your blocks.

Sew a quarter inch on both sides of the drawn line.

Then cut on the solid line.


You can either arrange the blocks with the chevron all in the same direction like the left photo, or you can turn part of the blocks upside down to create a different look like I did in the right photo.

I hope that you are finding some time to stitch this evening. Thanks for visiting!

Your blue blocks are really pretty! I love the contrast between the deep and vibrant blocks and the lighter blocks. Are you doing a quilt with them or did you have something else planned?
ReplyDeleteThat's a great technique and your blocks look nice.
ReplyDeleteWhat a great project with so many design ideas!
ReplyDeleteLove your blocks done in Blues.
ReplyDeletethanks for the tut on a different way to make the scrappy blocks. I sew them onto wadding with the backing on as well.The Quilt As You Go method.Will try this later.
Love, love! I've been wondering how people made these blocks. I'm off to try it!
ReplyDeleteThanks for showing how you do these chevron blocks. I sure will try one soon.
ReplyDeleteYou have made a lot of blue blocks already, it will make one beautiful and very large quilt by the end of the year.
KATRIN W.
Dear LuAnn,
ReplyDeleteyour blue work looks very pretty. It's very nice to see the contrast between the different blue blocks. Are you doing a quilt with these blocks? Thank you for the tutorial.
Have a nice sunday and take care
Roswitha
Thanks for the tutorial...love it.
ReplyDeleteThank you for the tut. I also love string blocks and will try out your method. If you make a quilt with these block it will be wonderful.
ReplyDeleteI also love making sting blocks, and will have to try out your new method. Love the light and blue contrast, it looks wonderful.
ReplyDeleteAren't string quilts the most fun?
ReplyDeleteI took the phone book to the local printer and had it cut into 8 inch squares. He charged $4.00 but I felt it was worth it not to have to cut them myself......
Your blocks are lovely.
It looks wonderful.
ReplyDeleteme gusta como vas creando estos nuevos bloques, quizás en proyectos futuros copie lo que has realizado...exelente comienzo de semana..y mil gracias por tu visita y colocar el traductor...ahora comprendo mucho mejor ....Gracias
ReplyDeleteWhat a great way to do string blocks. Sewing them straight would go so much faster than the diagonal lines and then sewing them together give such a neat effect. They look great all put together like that. Thanks for the photos, they really helped me understand how to do it.
ReplyDeleteGoodness those are pretty! Almost like sparkling diamonds or stars amidst the darker blue....
ReplyDeleteVery pretty blocks! I love string sewing too. I usually use the cheaper muslin for foundations, then I don't have to rip paper. LOL ;-) Have a happy day!
ReplyDeleteThe blocks look beautiful. Thanks for the tutorial.
ReplyDelete