Wednesday, September 11, 2013

Making Bean Bags

The other afternoon before I went to babysit with my grandson, I made  some bean bags for him to play with.  I made 8 bean bags in no time.  Here is how I did it.


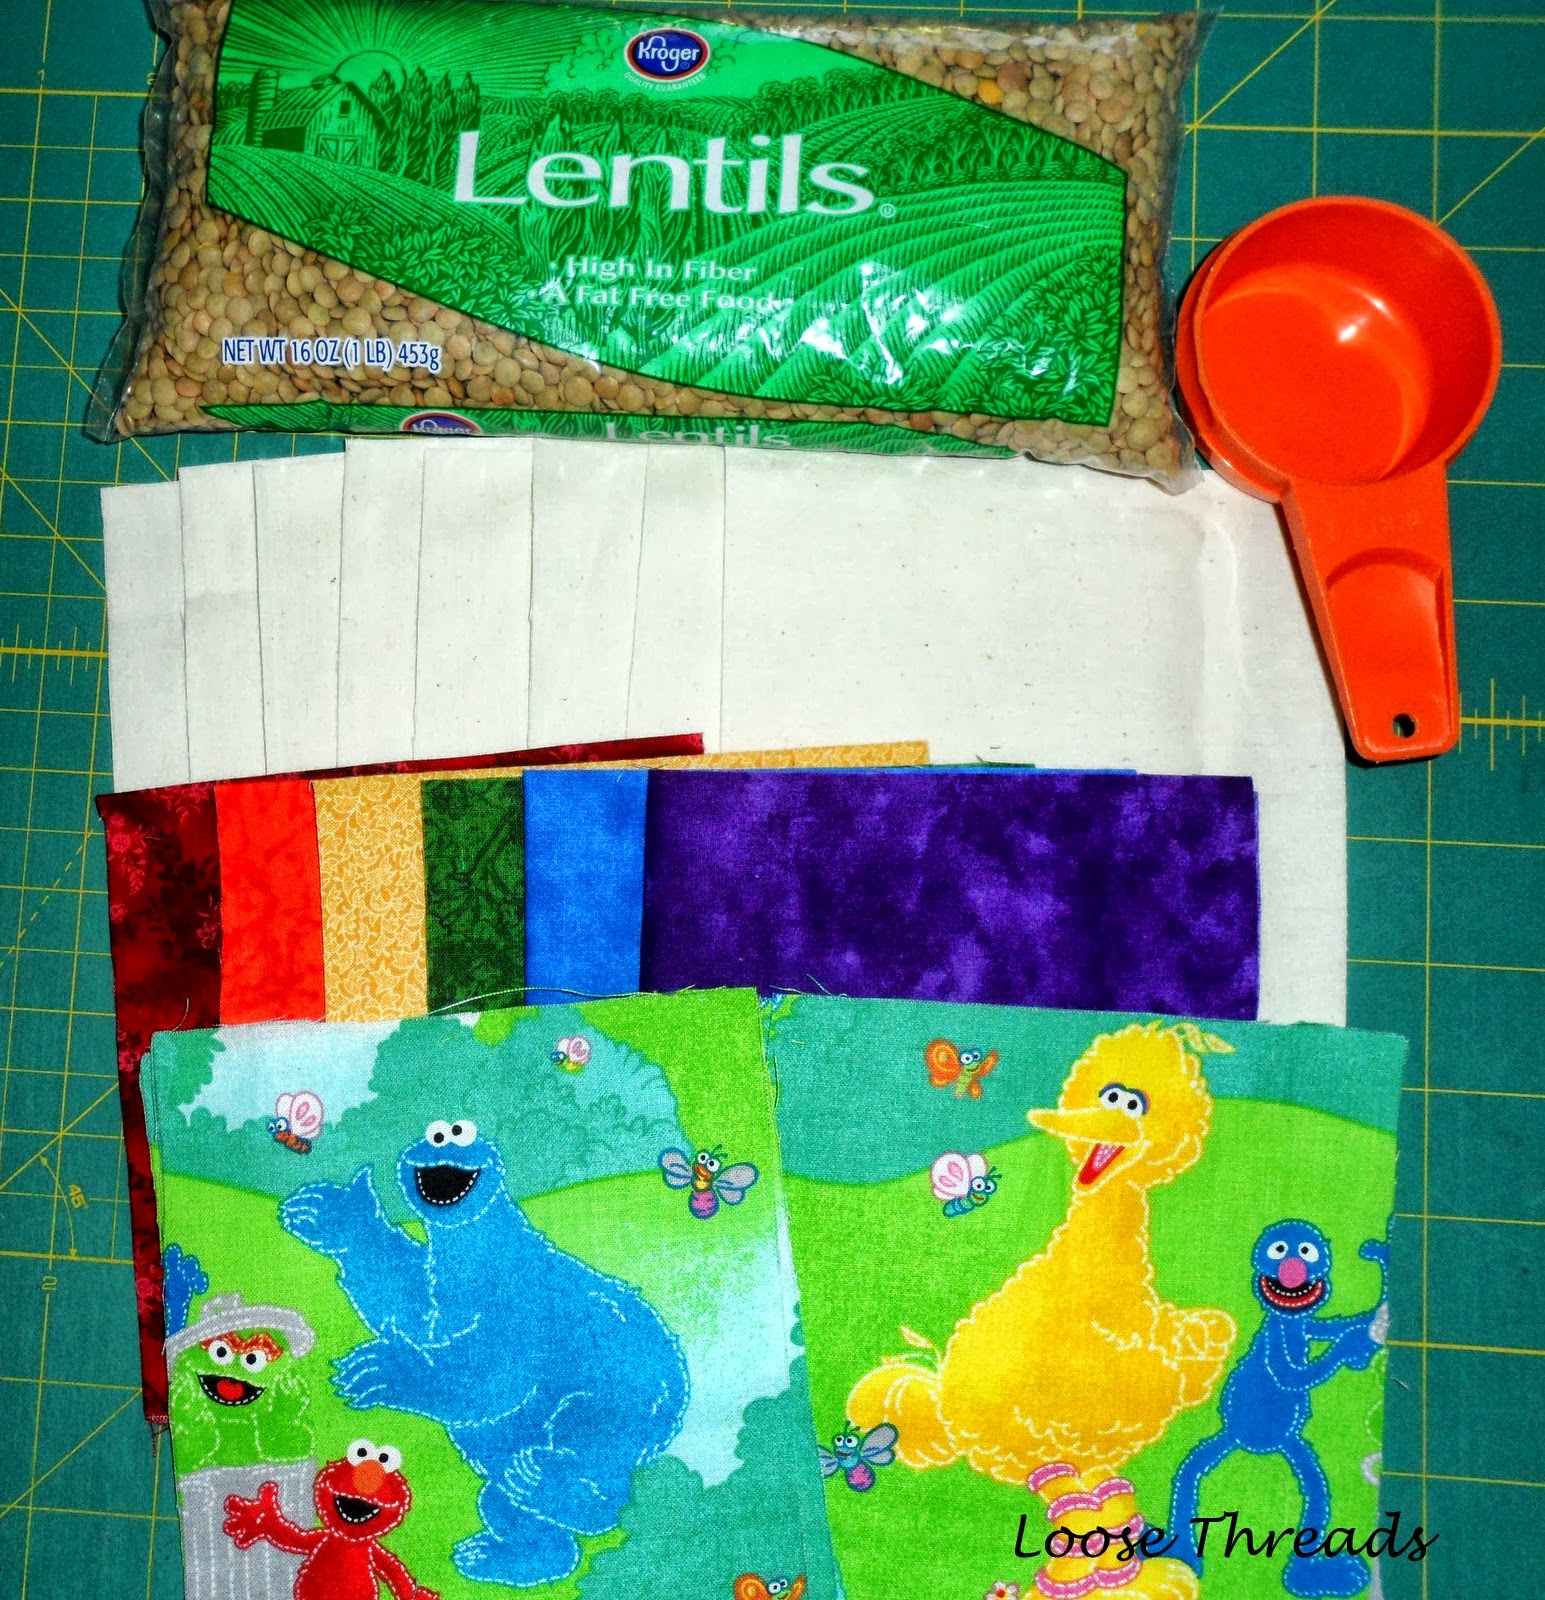
I cut two 5 inch squares from each of the fabrics you see below.  I also cut two 5 inch squares of muslin for each bean bag.  This would be a good charm pack project.


I had to go out and buy the muslin, and while I was there I saw the Sesame Street fabric and couldn't resist buying just a bit of that, too.

I chain sewed the muslin with a 1/2" seam allowance.  


If you start on one side of the square and sew a few stitches on that fourth side, it makes it easier to turn the edges under and machine sew them when they are full of the beans.


Put 3/4 cup of lentils or other dried beans in each bag.
 
Then I just rolled the edge under and sew.  Sometimes those beans took on a life of their own when they were put under that presser foot.


Daniel is almost 18 months so I thought we could play..."throw the (fill in the color) bean bag"


I had a bit of leftover wrapping paper and covered a box so we could make a game out of it.  Daniel had fun playing bean bag and also enjoyed pushing the cat around in the box.

I know that Cornhole is really popular, and if you have someone that is good at woodworking you can make a game board pretty easily.  If you just Google Cornhole game, I'm sure there are some measurements and/or directions on line to make a board.  


I know you don't really need a tutorial to make a bean bag, but I've been busy and have been doing some hand work in the evenings so there isn't really a lot to show yet.
 

I hope you are finding some time to stitch!

Thanks for stopping by for a visit.

Friday, September 6, 2013

Road 66 Hexagons


In between other projects, I've been glue basting and sewing together more hexagons for my Road 66 quilt.  Fussy cutting and gluing these hexagons is very addictive.  Whenever we go out in the car, I take along a container of hexagons, paper pieces and a glue stick, and I'm amazed at how many I can get done in even a few minutes.


I have begun to look at fabric in a different way since I bought Di Ford's book, Primarily Quilts.  Before studying her fabric choices, I would never have chosen a fabric like the stripe in the hexagon below.  Now I look for stripes in my stash.


I know from working on my Dear Jane quilt that everyone says not to save the 52 triangles on the outer edge until last.  I learned that one the hard way, so I decided I would cut the off white hexagons that frame all 18 of the large flowers in the quilt and start sewing them on as I go along instead of waiting until the end.   
 
  I'm working on a couple of other things that I will show you soon.

 I hope you are all enjoying some nice weather like we are having here in the Midwest and finding some time to stitch.

Thanks for visiting!

Wednesday, August 21, 2013

Gluing and Sewing Hexagons


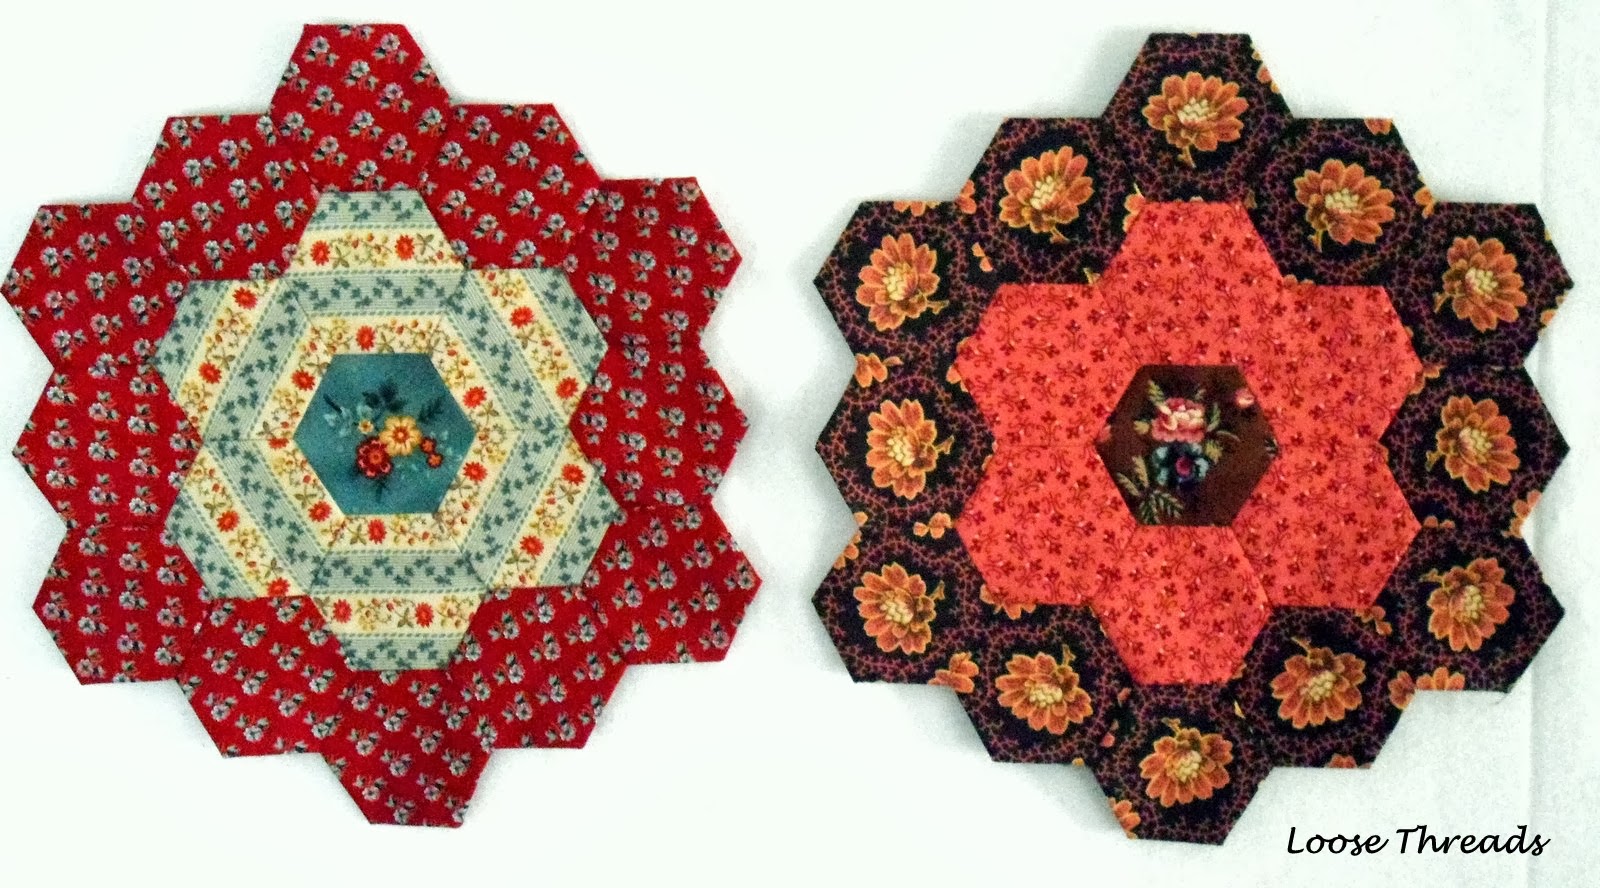
Summer is flying by quickly, and I've been keeping busy.  I've been spending most evenings gluing and sewing hexagons.  Here is my first one sewn together for my version of the Road 66 quilt from Di Ford's book, Primarily Quilts.  These are 1 1/8" hexagons.


Here is the photo of the quilt from the book.  I love all of the fussy cutting used in the blocks and the diamonds that form the path through the hexagon flowers.  I just love this quilt.


Here are a few of the 1/2" hexagons that I've made for a different project.  These go together quickly, and I can see an entire quilt done with these small blocks.  These little ones are really addictive.


In this post, I talked about glue basting hexagons versus thread basting.  Since then, I have tried all of these different glue sticks, and they all work.


These Elmer's Disappearing Purple Glue sticks are my favorite for the larger hexagons.  I found 12 of these sticks at Meijer for $4.98 last week.  You should have seen my family roll their eyes when I came home with 12 glue sticks.  I just told them that it might be a long winter, and I wouldn't want to run out of glue.


If you put the line of glue away from the very top edge, you won't be sewing through the glue when you join the hexagons, but the fabric will still hold.  The glue goes on purple, but dries clear.  For the 1/2" hexagons, it is a lot easier to use the Sewline glue pen though.


I hope you are finding some time to stitch today or maybe you've caught the English Paper Piecing bug and are gluing hexagons.

Thanks for stopping by for a visit! 

Print This Post

Related Posts Plugin for WordPress, Blogger...